Bleeding a radiator is one of the simplest pieces of central heating maintenance a homeowner can do — and one of the most effective. If your radiators are cold at the top but warm at the bottom, trapped air is almost certainly the cause. This guide covers the whole process, including what to do about boiler pressure afterwards.
Why do radiators trap air?
However, central heating systems are sealed, but small amounts of air enter over time. Through the water supply, through tiny leaks, or as a by-product of hydrogen gas produced by corrosion inside the system (particularly in older steel radiators). This air rises to the highest point of each radiator and forms a cold pocket that hot water can’t displace.
Additionally, signs that a radiator needs bleeding:
- Cold at the top, warm at the bottom
- Longer than usual time to heat up
- Gurgling or trickling sounds when the heating is on
- Uneven heat distribution across the room
What you need
- A radiator bleed key (inexpensive from any hardware store — most radiators take a standard square key, though some older ones need a flat-head screwdriver)
- A cloth or small container to catch any water
- A tissue to wipe the bleed valve clean
Step-by-step: how to bleed a radiator
1. Turn the heating on and let the system reach full temperature. Specifically, this ensures all radiators are pressurised and air has accumulated at the tops. Feel each radiator for cold patches at the top to identify which ones need bleeding.
2. Turn the heating off and let it cool for 20–30 minutes. For example, never bleed a radiator when the system is hot and pressurised — the water that comes out will be scalding. Allowing it to cool also reduces the mess.
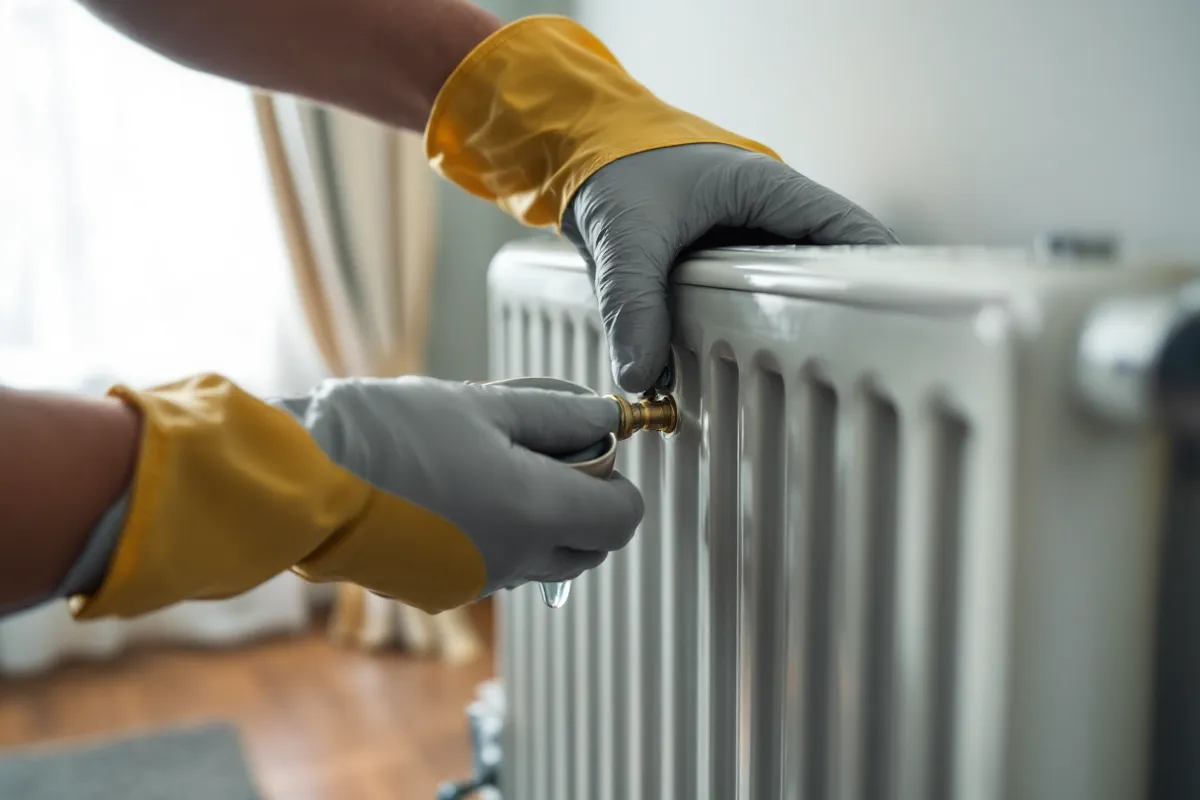
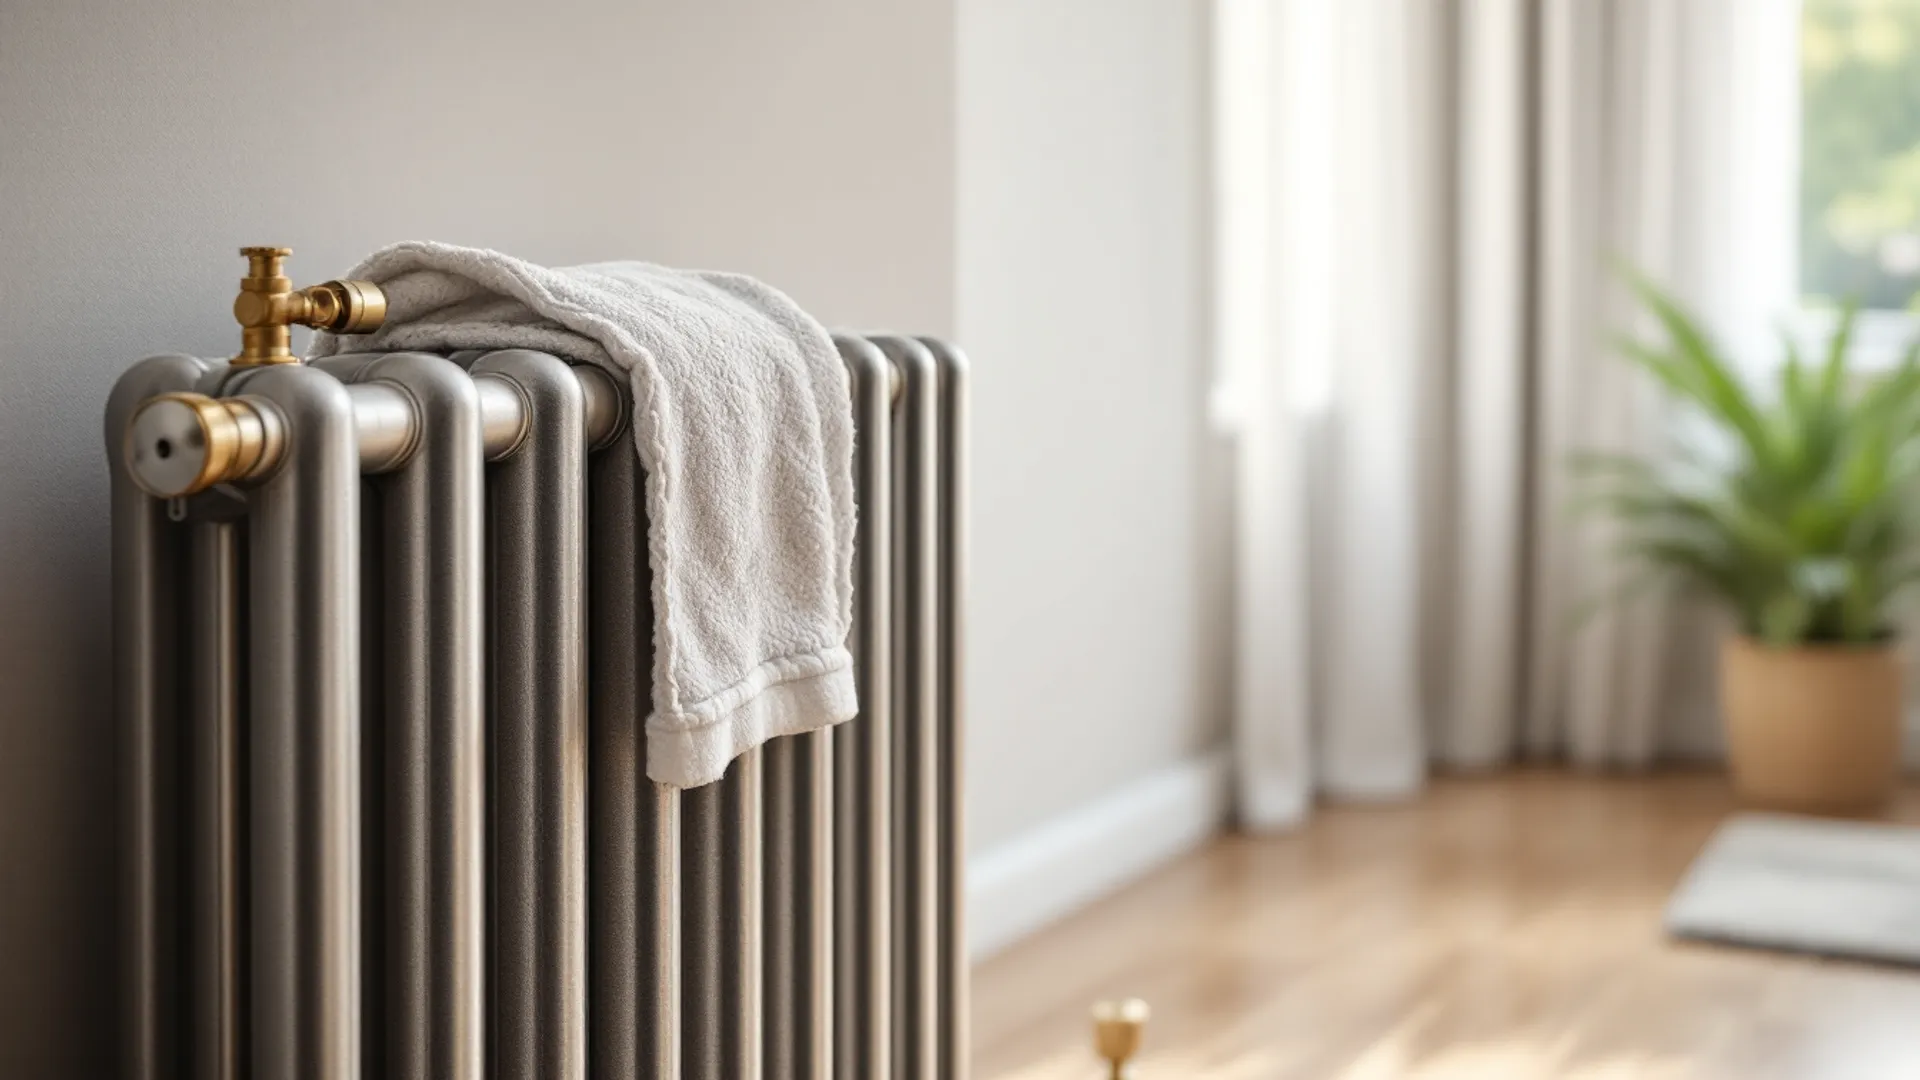
3. Locate the bleed valve. As a result, it’s a small square nut set into a circular housing, usually at one of the top corners of the radiator. This is where you insert the bleed key.
4. Place your cloth under the valve Meanwhile, to catch any drips.
5. Insert the bleed key and turn it slowly anti-clockwise — just a quarter to a half turn. Furthermore, you’ll hear a hissing sound as air escapes. This is exactly what you want. Do not remove the key or open the valve fully.
6. Wait. In particular, the hissing will gradually slow and then stop, replaced by a trickle or dribble of water. The moment water appears, close the valve by turning the key clockwise. Don’t overtighten — firm is enough.
7. Repeat for every radiator that had a cold patchConsequently, , working from the ground floor up, finishing with the highest radiators in the house.
Check your boiler pressure afterwards
Similarly, every time you bleed radiators, you release water from the system (the water that comes out with the air). This reduces system pressure. Most modern combi boilers require a pressure of 1.0–1.5 bar when cold (check your boiler manual for the exact specification).
Moreover, look at the pressure gauge on your boiler (usually a dial or a bar indicator on the front panel):
- Below 1 bar: you need to repressurise
- 1–1.5 bar: ideal range
- Above 2.5 bar: the pressure relief valve may release — don’t bleed any more radiators until you’ve investigated
To repressurise a combi boilerHowever, , locate the filling loop — a flexible silver hose that connects two valves under or near the boiler. Open both valves slowly until the pressure gauge reads 1.2–1.5 bar, then close both valves firmly. The filling loop connects the cold mains supply to the heating circuit.
Additionally, some newer boilers have an internal filling link rather than an external loop — if yours does, consult the manual.
When bleeding doesn’t fix cold radiators
If you’ve bled the radiators and they’re still cold at the top, or if they’re cold throughout, the problem is likely more serious:
Sludge accumulation Specifically, — black iron oxide sludge (magnetite) settles at the bottom of radiators and blocks the internal passages. Radiators that are cold at the bottom are almost always sludge-affected. A powerflush clears the system chemically and physically.
Pump failure For example, — the circulating pump moves water around the system. If it fails, hot water sits in the boiler and doesn’t circulate. Your radiators will be uniformly cold even though the boiler fires.
Balancing issues As a result, — if some radiators are roasting and others barely warm, the system needs balancing (adjusting the lockshield valves to even out flow). This is a job for a heating engineer.
Boiler fault Meanwhile, — if bleeding and repressurising don’t help and all radiators are cold, the boiler itself may have developed a fault. Check for any error codes on the display.
How often should you bleed radiators?
Furthermore, once a year at the start of the heating season is a good rule of thumb. If you’re bleeding the same radiators repeatedly (every few weeks), air is entering the system faster than normal. Which usually indicates a small leak or that the system needs an inhibitor top-up.
In particular, adding central heating inhibitor (such as Fernox F1 or Sentinel X100) slows corrosion and reduces the hydrogen gas that produces air. It introduced easily through the feed-and-expansion tank in gravity systems, or through the filling loop on sealed systems.
Older and gravity-fed systems
Older properties with gravity-fed (open-vented) central heating have a small header tank in the loft. These systems typically self-bleed to some extent because the header tank allows air to escape at the top. But they can still accumulate air pockets, especially in radiators connected by long horizontal runs.
The process is the same — find the bleed valve, release the air, catch the water. The difference is that you don’t need to repressurise afterwards because the header tank automatically refills the system.