A hidden water leak is one of the most damaging and expensive problems a UK homeowner can face. Insurance claims for escape of water (the formal term for a leak) are typically substantial — far more than a burst pipe visible under the sink. Most of that cost comes from water damage to floors, ceilings and structural timbers, not the pipe repair itself.
However, finding the leak quickly dramatically reduces damage. This guide explains what to look for, which DIY detection methods work, and what professional leak detection equipment can find that you can’t.
How to tell if you have a hidden leak
Check your water meter
Turn off every water outlet in the house — taps, dishwasher, washing machine, boiler fill valve, everything. Go to your water meter (usually in the pavement outside the front of the house, under a small plastic cover) and watch the dial. If the meter is still moving, water is flowing somewhere — you have a leak.
Additionally, most modern meters have a low-flow indicator (a small red or blue triangle or star) that turns even when flow is very small. If this indicator is moving with everything off, you have a leak.
Approximate flow rates and leak severity: Specifically, - Low-flow indicator only moving: minor drip, but worth investigating
- Main dials moving slowly: moderate leak — act within days
- Main dials moving fast: significant leak — act within hours
Signs inside the property
- Unexplained wet patches on ceilings, walls or floors
- Blistering or peeling paint or wallpaper (especially on external walls or ground-floor ceilings)
- Mould or mildew in areas with no obvious moisture source
- A musty smell in a room with no visible damp
- Floors lifting or warping (common with laminate over concrete slabs)
- Unexplained drops in mains water pressure
Signs outside the property
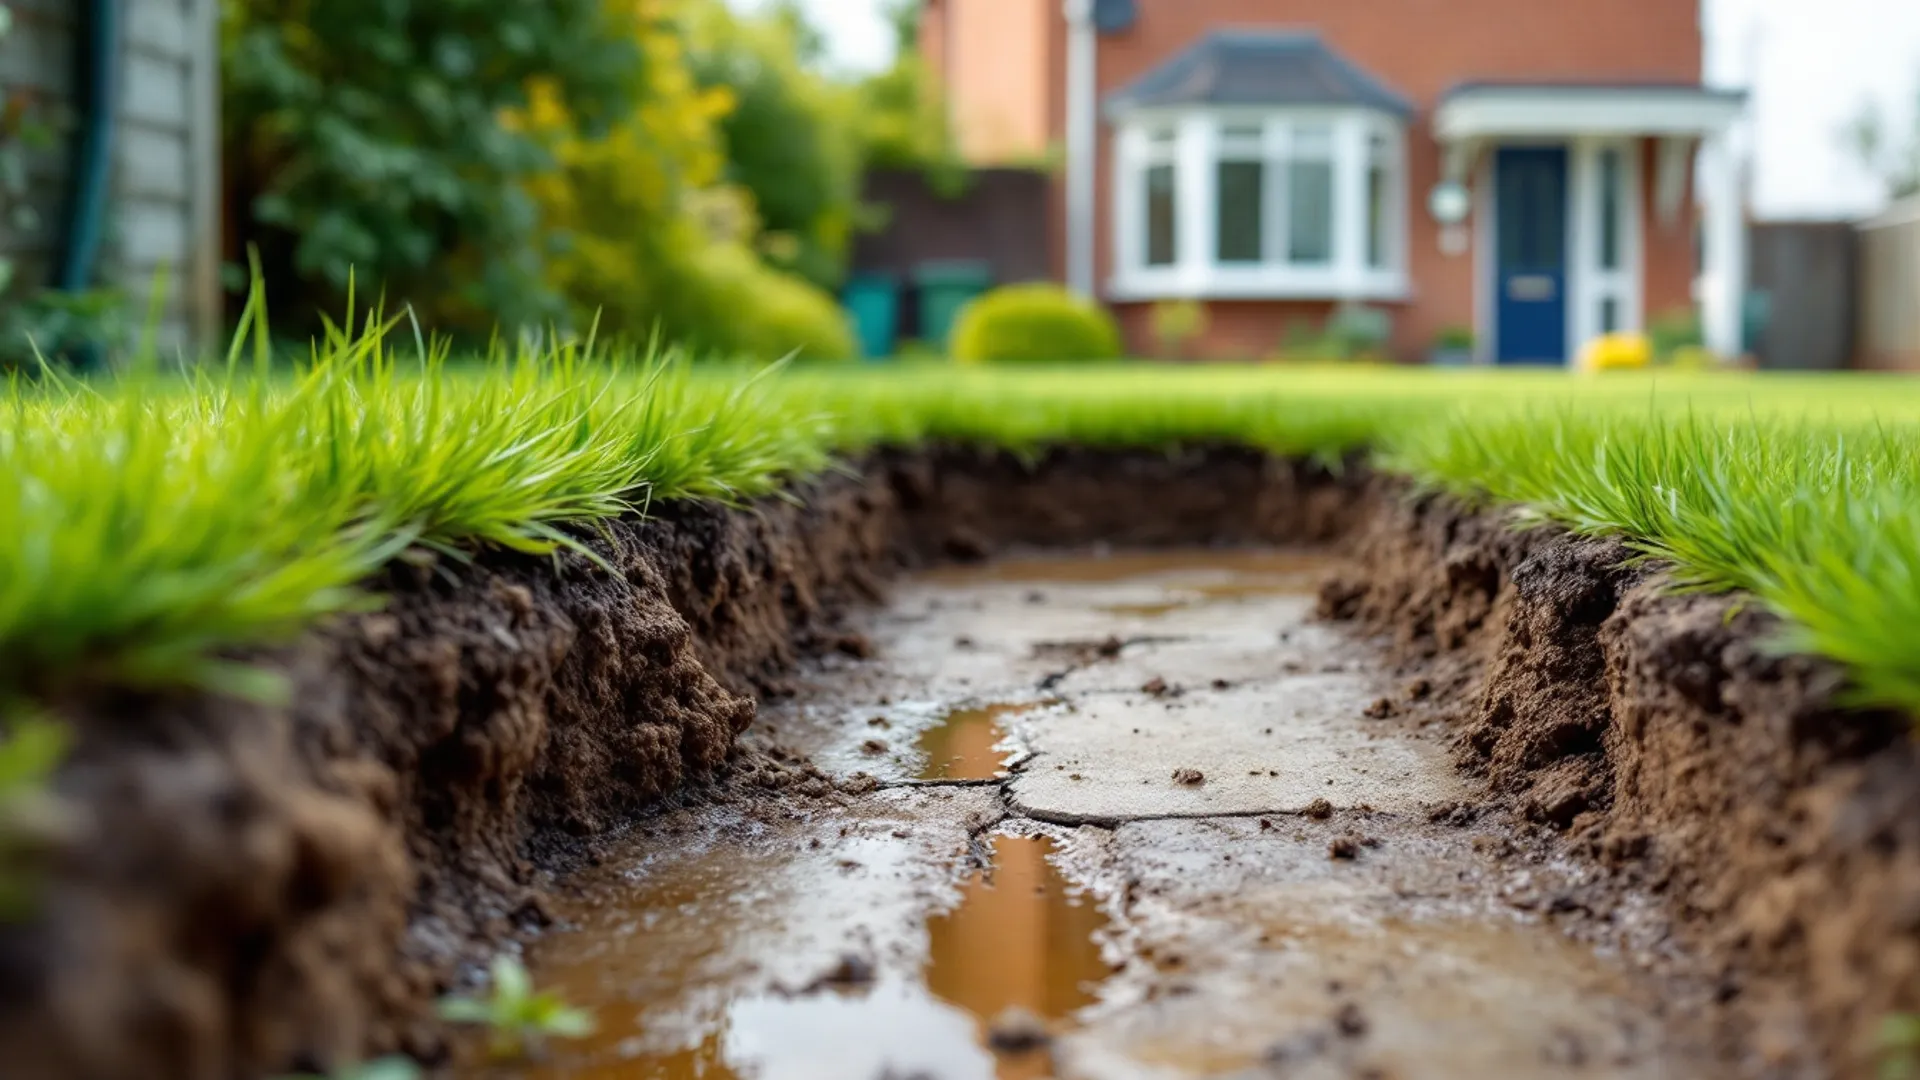
- Patches of unusually green or lush grass (a mains leak underneath feeds the lawn)
- Sinkholes or soft ground above where the supply pipe runs
- Persistent damp at the base of an external wall where the supply pipe enters the house
DIY leak location methods
The isolation test
For example, if the meter confirms a leak, work from the meter toward the house. Most properties have a stop valve inside the house (under the kitchen sink, in an airing cupboard, or in a utility room). Turn this off and recheck the meter:
- If the meter stops: the leak is inside the house.
- If the meter is still running: the leak is on the supply pipe between the meter and the house stop valve — this section is the homeowner’s responsibility, not the water company’s.
Toilet dye test
As a result, toilet cisterns are a common but overlooked source of slow leaks. Add a few drops of food colouring to the cistern and don’t flush. Check the bowl after 20 minutes — if colour has appeared, the flap valve or overflow is leaking water continuously into the pan.
Checking under floors (concrete slabs)
Meanwhile, listening at the floor surface with a glass (old-fashioned but occasionally effective) can sometimes reveal the hiss or trickle of a pressurised pipe leak under a solid floor. Professional equipment is far more reliable for this.
What professional leak detection can find
Furthermore, professional leak detection engineers carry equipment that can pinpoint a leak without any excavation:
Acoustic correlation. In particular, a listening device is placed on two known pipe access points (like stop valve covers or the meter). An acoustic correlator measures the sound pattern of water escaping from the pipe and uses the time difference between the two sensors to calculate the exact position of the leak to within centimetres.
Tracer gas detection. Consequently, a mixture of hydrogen and nitrogen (non-explosive, non-toxic) is pumped into the pipe after the water supply has been isolated. The gas escapes through the leak and rises to the surface. A sensitive gas detector traces the gas concentration across the ground surface to identify the precise exit point.
Thermal imaging. Similarly, escaping water changes the temperature of surrounding materials. A thermal imaging camera can reveal cold or warm patches in walls, ceilings and floors that indicate leak positions — particularly useful for underfloor heating leaks and leaks behind tiled surfaces.
Endoscope / borescope. Moreover, a small camera on a flexible probe can be inserted through a small hole drilled in a wall or floor to inspect a cavity without major demolition.
However, most leak detection engineers will combine two or more methods. The goal is to pinpoint the leak so that the repair requires the minimum possible opening up of floors, walls or ground.
Common types of hidden leaks
Mains supply pipe leaks (underground). Additionally, the supply pipe runs from the meter through the garden and under the house wall. Plastic pipes (blue MDPE, common in post-1980s installs) can crack where the pipe changes direction or is damaged by ground movement. Older lead or iron pipes are more vulnerable to corrosion.
Underfloor heating leaks. Pressurised underfloor heating circuits run beneath screed floors and can leak at pipe connections or where the pipe has been damaged (by a nail or screw from above, for example).
Heating pipework leaks. Specifically, microbore copper heating pipes corrode from the inside when the system water isn’t dosed with corrosion inhibitor. Pinholes in copper pipe under floors or inside wall cavities can run for months before the damage is obvious.
Drain leaks (below ground, outside the building). For example, drain leaks don’t show on your water meter but can cause serious structural damage — water escaping from a broken drain can wash away sub-base material under drives, paths and extensions.
What to do while waiting for an engineer
- Turn off the stop valve if the leak is significant — this stops the flow and reduces damage
- Turn off electrics in affected rooms if water is near any fittings
- Photograph all visible damage immediately — important for any insurance claim
- Do not attempt to chip up floors or open walls to find the leak yourself — you’re likely to make it worse without the acoustic correlation data to guide you