Finding a water leak hidden behind walls, under floors, or in underground pipework once meant destruction: opening up plasterwork, lifting tiles, excavating gardens. Modern non-invasive leak detection equipment has changed this fundamentally. In the hands of a skilled technician, the combination of acoustic correlation, thermal imaging. Tracer gas can locate a leak within 10–30cm without breaking a single tile. Here’s how each technology works and when it’s appropriate.
Why non-invasive detection matters
The traditional approach to a hidden leak. Narrow it down by guesswork, open up the area, look for the source — creates collateral damage. Opening up a tiled floor to find a leak in a plastic pipe under a wet room is expensive, messy, and may involve temporary relocation. If the guess was wrong, you’ve made a large hole and still don’t have the answer.
However, non-invasive detection is not just faster and neater — it’s usually cheaper overall. The cost of a specialist leak detection survey is typically a fraction of the damage caused by exploratory excavation on the wrong assumption.
Acoustic correlation: the workhorse of leak detection
Additionally, acoustic correlation is the most widely used and most effective method for locating leaks in pressurised water pipes. Supply pipes, heating system pipes, and any pressurised wet system.
How it works: Water escaping through a crack or hole in a pressurised pipe creates a characteristic noise. This noise travels along the pipe in both directions. Two acoustic sensors are placed on the pipe at accessible points on either side of the suspected leak (typically at fittings, valves, or meters). The correlation software compares the sound signals arriving at each sensor and calculates the time difference — since sound travels at a known speed through the pipe material, the software uses the time difference to calculate exactly how far the leak is from each sensor, pinpointing its location.
Specifically, modern correlation equipment is sensitive to frequency ranges outside human hearing and can detect leaks in pipes under several metres of concrete with high accuracy.
Best for: For example, supply pipes (mains, communication pipe), heating pipes, any buried or concealed pressurised system.
Limitations: As a result, requires two accessible points on the pipe; less effective for very plastic pipe (sound attenuation is higher); works best when water pressure is maintained (can’t detect a leaking pipe that’s been isolated).
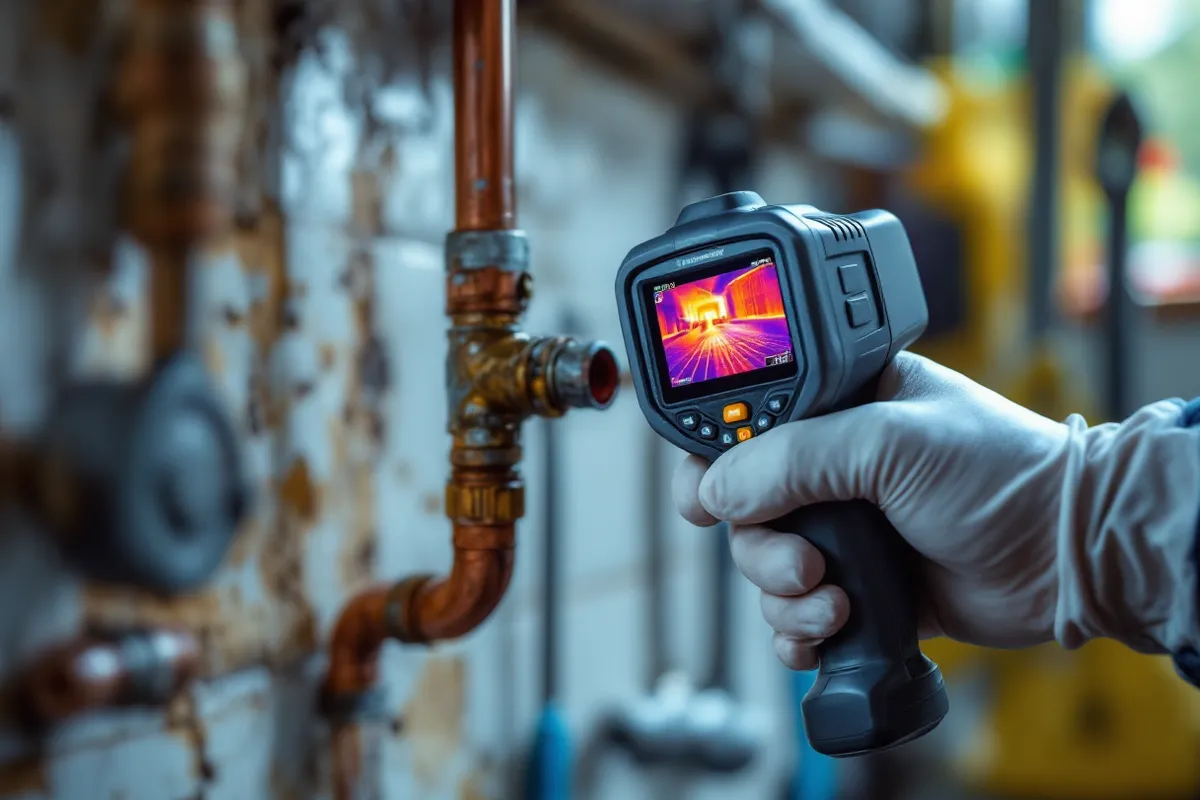
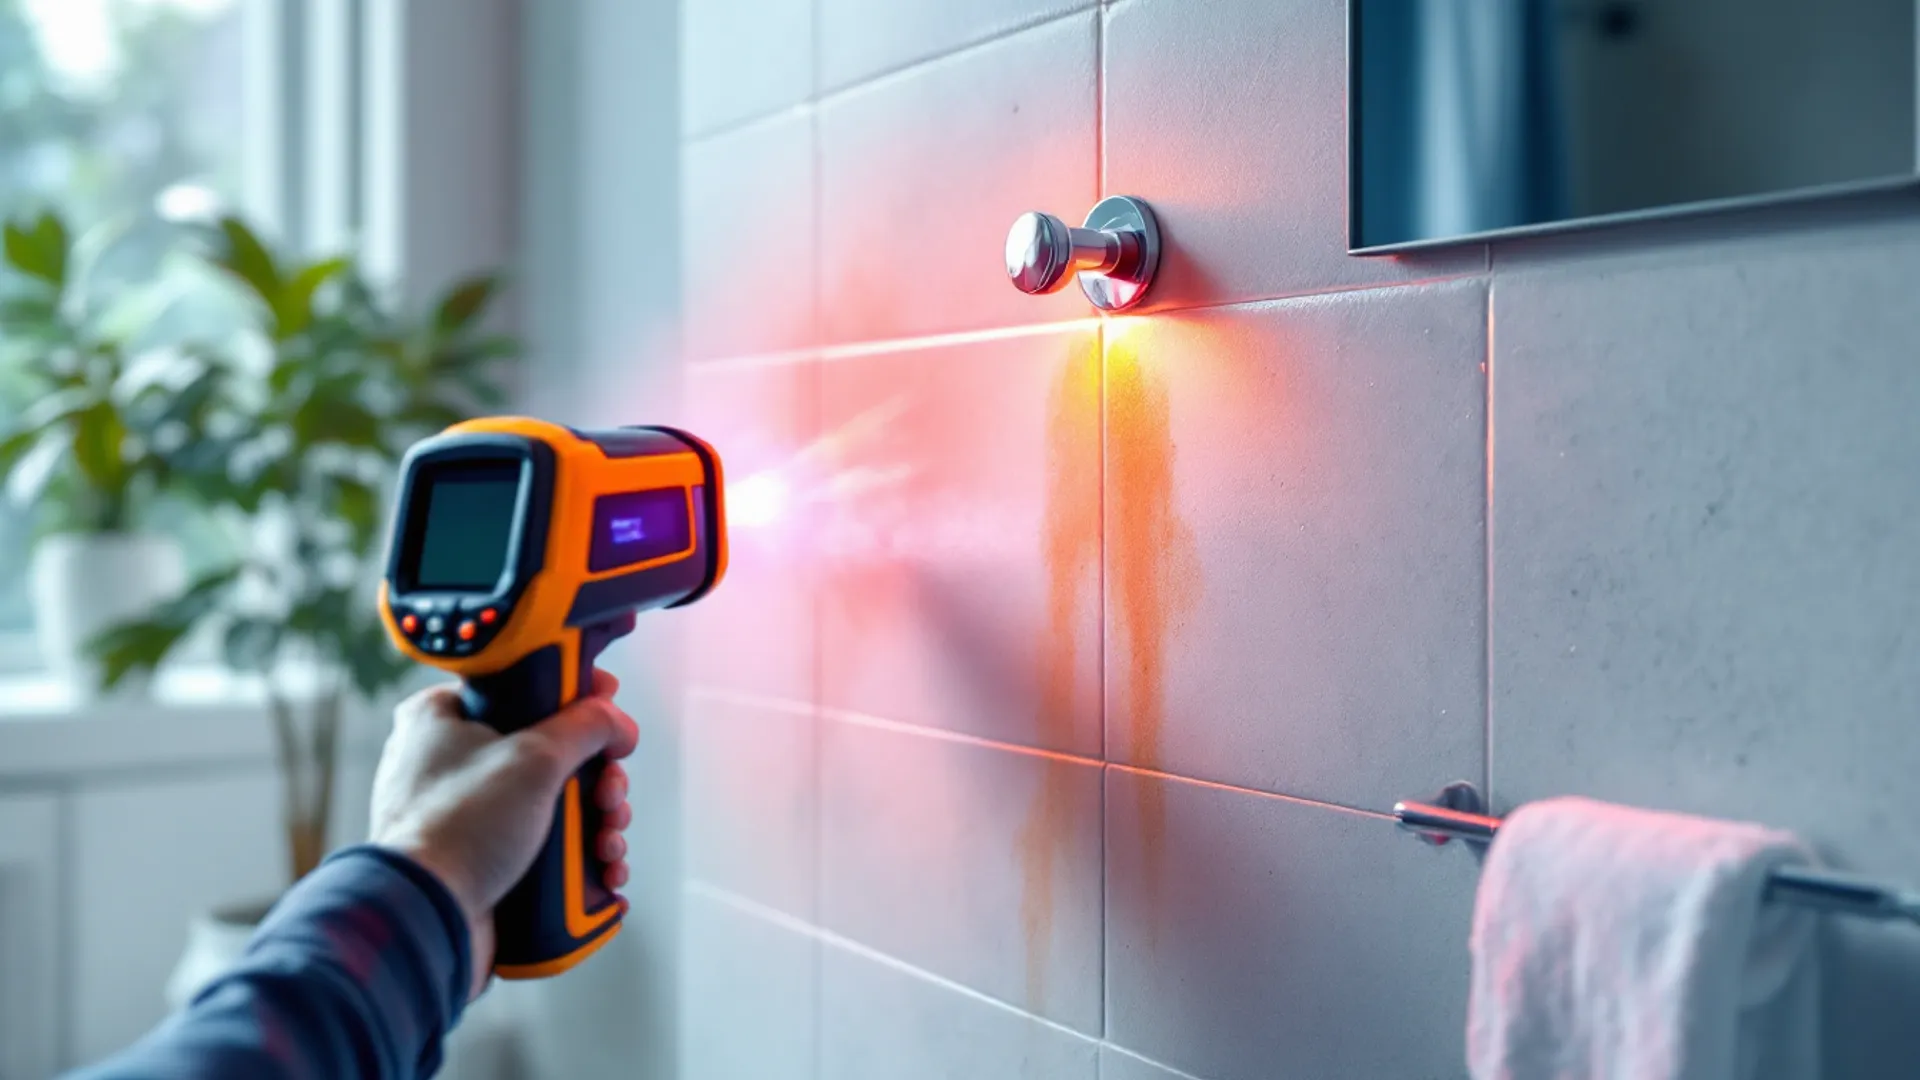
Thermal imaging: seeing heat
Meanwhile, thermal (infrared) cameras detect temperature differences across surfaces. A water leak creates a heat (or cold) signature that shows up as a colour contrast on the thermal image.
How it works: Furthermore, a leaking hot water pipe warms the floor or wall around it. A leaking cold supply pipe cools the surrounding structure. Either way, there’s a detectable temperature differential between the leak area and the unaffected areas around it. A thermal camera images this contrast across the entire wall or floor surface, showing the leak location as a colour anomaly.
Best for: In particular, hot water pipes in floors (underfloor heating leaks, wet room floor pipes), hot or cold supply leaks behind plasterboard, detecting the spread of moisture after a leak to map the damage extent.
Limitations: Consequently, the leak must create a sufficient temperature differential to be visible — small cold water leaks in cold conditions may not create a detectable contrast. Thermal imaging identifies the moisture signature rather than the leak point itself, so it shows where the water has spread. Combining with correlation confirms the exact pipe break point.
Tracer gas: finding tiny leaks
Similarly, tracer gas (typically a nitrogen/hydrogen mixture. The hydrogen is the tracer, nitrogen is the carrier) is used when acoustic correlation has been unsuccessful (often on very small leaks or plastic pipework where acoustic sensitivity is limited) or as a confirmatory second method.
How it works: Moreover, the water is drained from the affected pipe section and replaced with tracer gas at low pressure. The gas escapes from any opening in the pipe and migrates upward through the soil, concrete, or building fabric. A handheld gas detector with a sensitive probe is swept over the surface — the detector responds to the tracer gas concentration, rising to maximum directly over the leak.
Best for: However, very small or slow leaks that don’t produce a strong acoustic signal, leaks in plastic pipes, leaks in areas with complex pipe runs where correlation is ambiguous, supply pipe leaks under thick concrete slabs.
Limitations: Additionally, requires draining and gassing the pipe section (the water supply is temporarily out of use); less appropriate for large or fast leaks where correlation works well; cannot be used on gas pipes for obvious reasons.
Moisture mapping: after the leak
Specifically, after locating and repairing a leak, the full extent of water damage needs to be established before repair and redecoration can proceed. Continuing moisture in a wall or floor void causes mould within 48 hours even if the source has been fixed.
Moisture meters For example, (resistance-based or capacitance-based) give a quantified reading of moisture content in building materials — plaster, timber, concrete, screed. They confirm when drying is complete and guide where dehumidification equipment needs to be deployed.
Thermal imaging As a result, at this stage reveals the full spread of moisture (often larger than expected) and tracks drying progress over days without destructive investigation.
What to expect from a leak detection survey
Meanwhile, a residential leak detection survey typically involves:
- Initial assessment: The technician gathers information — which rooms, what floor construction, any history of damp, when the problem started
- Meter check: Confirm there’s an active leak by reading the water meter with everything isolated
- Isolate to supply or heating circuit: Turn off each circuit separately to confirm which pipe system has the leak
- Deploy primary method: Usually acoustic correlation on supply pipes; thermal imaging on heating circuits
- Confirm location: Cross-reference with tracer gas if needed
- Mark the location: The technician marks the floor or wall with the leak location to within 10–30cm
- Written report: Documents the findings, location, and recommended repair
Furthermore, the plumber or tiler who does the repair works to the marked location. Typically lifting 2–4 tiles or cutting a small access hole rather than the large exploratory opening that guesswork would require.